A few months ago, Chris and I went camping in Olympic National Park. And when I think camping, I think S’MORES.
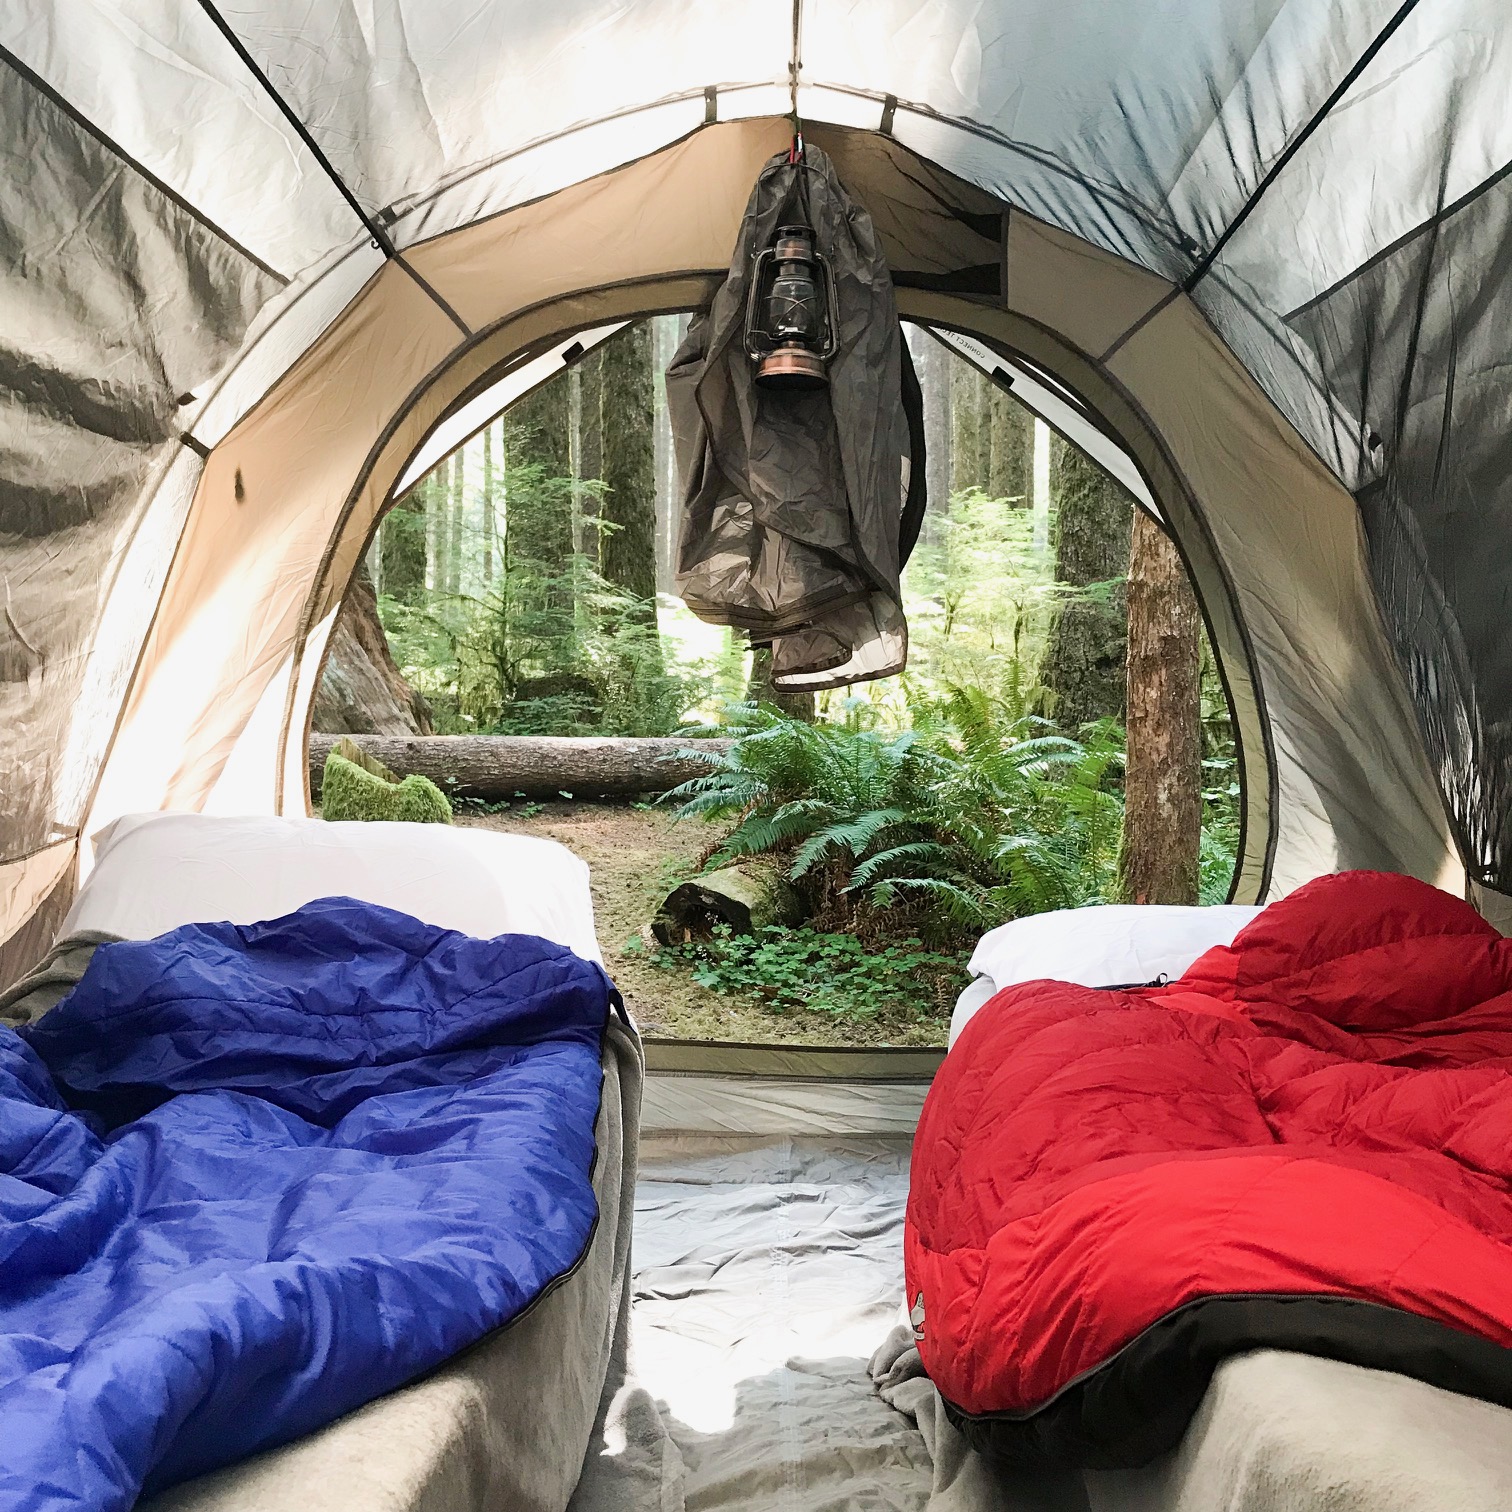
Chocolate, graham crackers, and marshmallows are at the top of my shopping list days before we leave.
When we arrived to purchase our s’more ingredients and other camping comestibles, our local natural foods store was out of the marshmallows I usually purchase on these occasions.
I settled for the ones with packaging emblazoned with "all natural", "gmo free" and "vegan".
Sounds perfect, right?
Wrong. And I knew it.
The worst of the worst was in there: carrageenan.
Now if you're frantically googling carrageenan, you'll find that it's made from seaweed.
Uhhh... how can seaweed be bad for you, Dr. Liz?
Anything that's been stripped down to a single constituent can be bad for you.
Carrageenan is an emulsifier, like soy lecithin, another additive to avoid.
Emulsifiers create a smooth, creamy texture in food that we enjoy, but the way they work is detrimental to our health.
To create a creamy texture, emulsifiers break whatever substance they're added to into tiny particles.
When carrageenan hits our gut, it starts to break up our incredibly important mucus lining. This mucus, even though it sounds gross, is our first line of defense against inflammatory particles from foods, bacteria, and viruses.
If our mucus lining is disrupted, those baddies can directly assault our cells and cause tons of inflammation and possibly infection. Not to mention having your soothing mucus coat roughly scrubbed off of you by carrageenan is pretty irritating in the first place.
Carrageenan is present in many alternative dairy milks and products. And definitely check out this awesome article to learn more about it.
It's best to read labels and avoid carrageenan and soy lecithin to help your gut be happier and healthier!
Never assume that just because something says "organic" and "gmo-free" that its healthy for you.
We have a very long way to go in this country with regulating and improving the quality of our food supply.
So now you know the inspiration behind my homemade marshmallows.
Not only are they carrageenan free, they’re also fluffy, magical clouds of lightly sweetened bliss.
Even though there’s no refined sugar or egg white to be seen, I promise you these are the REAL DEAL in terms of taste and texture. And it can all be done with honey and gelatin.
Sidenote: the taste of freshly made mallows is out of this world!
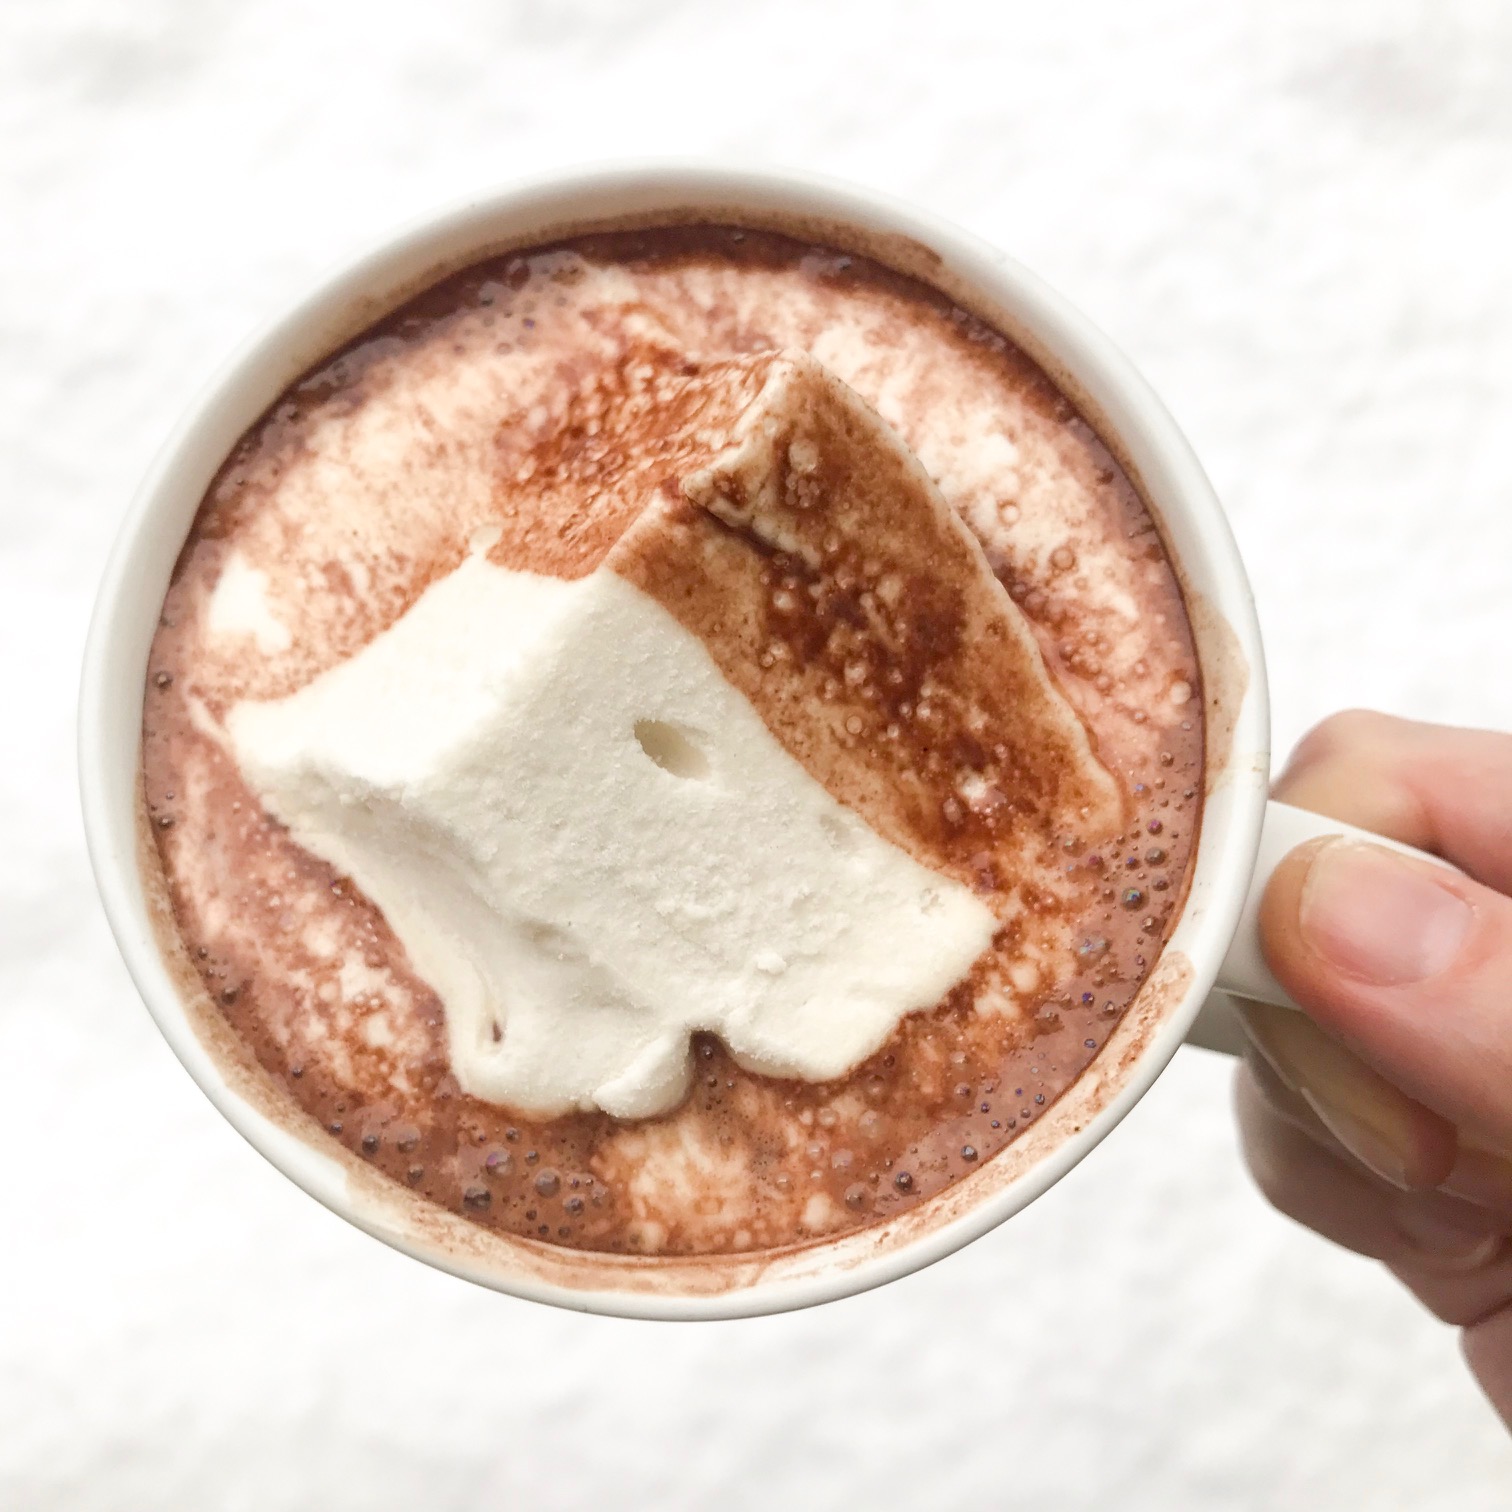
These mallows are the perfect addition to your hot chocolate! Or rice cereal treats. Or a pie you want to make extra decadent with a marshmallow topping.
I originally set out to make these mallows for camping trips and s’mores, but I did find that they are not ideal for s’mores. They melt easily so you just have to torch them quickly if you’re going to attempt s’mores (ahem, I may have made them over a gas burner at home while testing this recipe).
Vanilla Bean Marshmallows
Makes 25 1.5in x 1.5in marshmallows
Inspired by The Urban Poser
PRO-TIP: to make the mallows, you’ll want to use a bigger pot than you think you need. The honey bubbles up quite a bit so even though it’s a relatively small amount of liquid, you definitely need some space for that to happen!
Ingredients:
1 cup water, divided in ½
2½ tbsp gelatin (I love Vital Proteins grass-fed gelatin)
1¼ cups organic honey
2 vanilla beans*, sliced open and vanilla removed
Pinch of high mineral salt
Arrowroot starch** for coating the mallows
*if you can’t find vanilla beans, substitute 2 tsp of pure vanilla extract. The flavor isn’t as strong, but it’s still tasty and more affordable!
**Arrowroot starch is similar to cornstarch and will help make the mallows less sticky. Cornstarch can be used instead, but I recommend organic cornstarch to avoid GMOs.
Instructions:
Grease an 8x8 baking pan with coconut oil and line with 2 strips of parchment paper, leaving the ends overhanging. The ends will act as handles to lift your mallows out when they are set. Sprinkle arrowroot starch on sides and bottom of pan and set aside.
In your mixer bowl, sprinkle gelatin and ½ cup of water. Stir with a fork to break up the clumps of gelatin and allow it to bloom, or soak up all the water for about 5 minutes.
Put the rest of the water and honey in a 3 quart saucepan and turn heat to med to med-high. Bring to a boil. It will bubble up significantly. Keep a gentle rolling boil going, checking the temp with a candy thermometer (I use my meat thermometer) until it reaches 240-242 degrees F. This is called the “soft ball” stage of candy making. This process takes about 15 minutes.
Turn on your stand mixer or hand beaters to medium speed and gently pour the hot honey in a steady stream into the gelatin. Avoid pouring it onto to the beaters as it will splatter.
Increase beater speed to high and let the mallows whip up for 5-10 minutes. It should triple in volume and be slightly cool to the touch. Add in vanilla beans or vanilla extract and salt and incorporate fully.
Use a spatula to transfer your marshmallow cream (YUM) to the baking pan. Spread evenly and smooth out with a dinner knife or frosting knife. Sprinkle the top with arrowroot starch, spreading evenly and allow the mallows to cure for a minimum of 4 hours.
Remove from the baking pan with parchment paper handles and set on cutting board. Peel away the sides of the parchment paper. Use a long knife to cut mallow to your desired size and shape. I usually love chunky bits of fluff, so I cut a 5x4 or 5x5 grid and end up with about 1.5in x 1.5in mallows.

When cutting, score the top with your lines, then press the knife down hard through the whole line. It will look like you are crushing the marshmallows, but they’ll spring right back. They will mildly stick to your knife. After you’ve cut them, put them in a large bowl and coat thoroughly with arrowroot starch to prevent sticking and give them that marshmallow texture and feel.
Put in hot chocolate and enjoy!
PS -- if you want to flavor them differently, like a matcha or chocolate cinnamon or whatever floats your boat, add the flavorings when you add the salt!
PPS -- you can substitute pure maple syrup for the honey, if you'd like. Your mallows will definitely have a maple flavor, which is also delicious but less neutral. Or you could go 1/2 honey and 1/2 maple syrup. Make it your own!